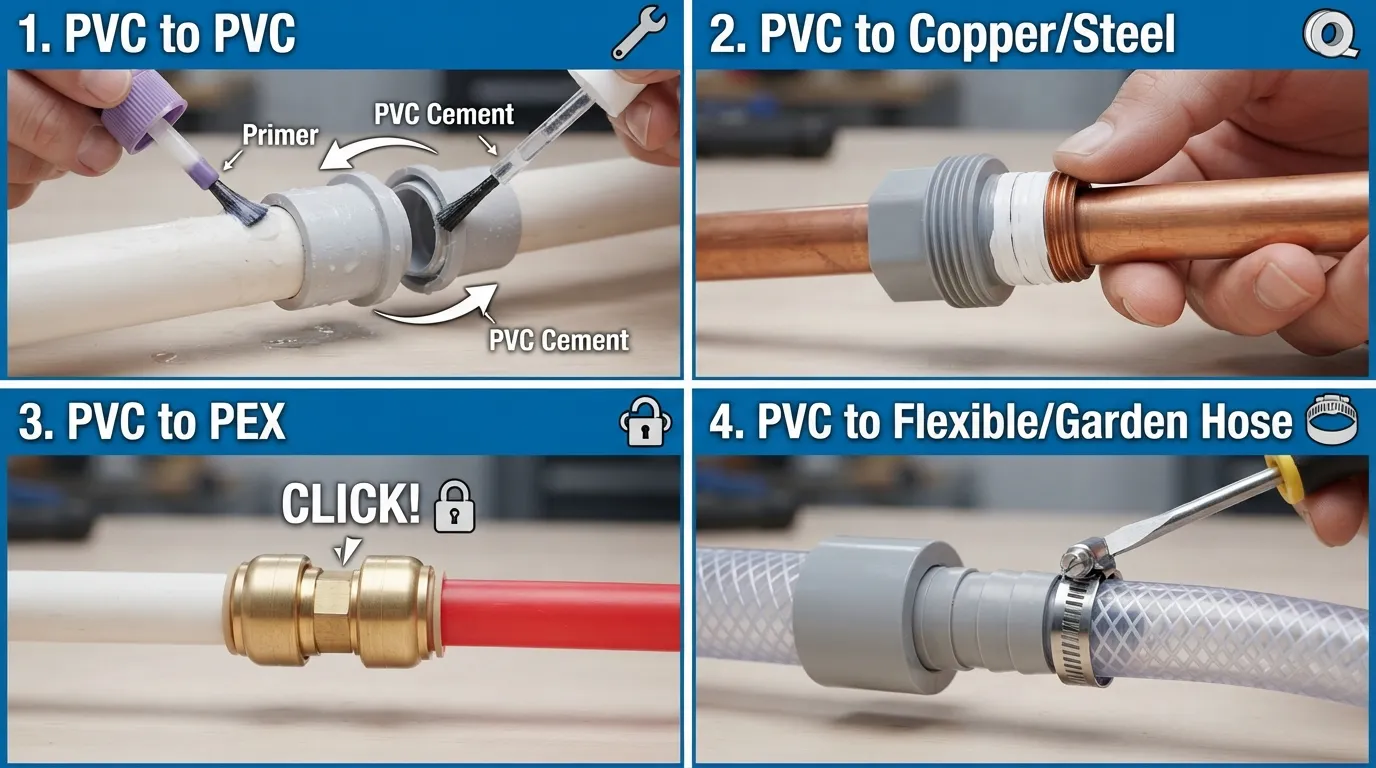
If you’re staring at a pipe that needs to tie into your PVC line and you’re not sure which fitting, glue, or method to use, you’re not alone. This is one of the most common questions homeowners run into, and the right answer really does depend on what you’re connecting PVC to. Below, I’ll walk you through every scenario — PVC to PVC, PVC to copper or PEX, PVC to flexible tubing, and even glue-free options — so you can pick the right method the first time and avoid a leak later.
Before You Start: Safety and Prep
A few basics apply no matter which method you use, and skipping them is where most DIY leaks start.
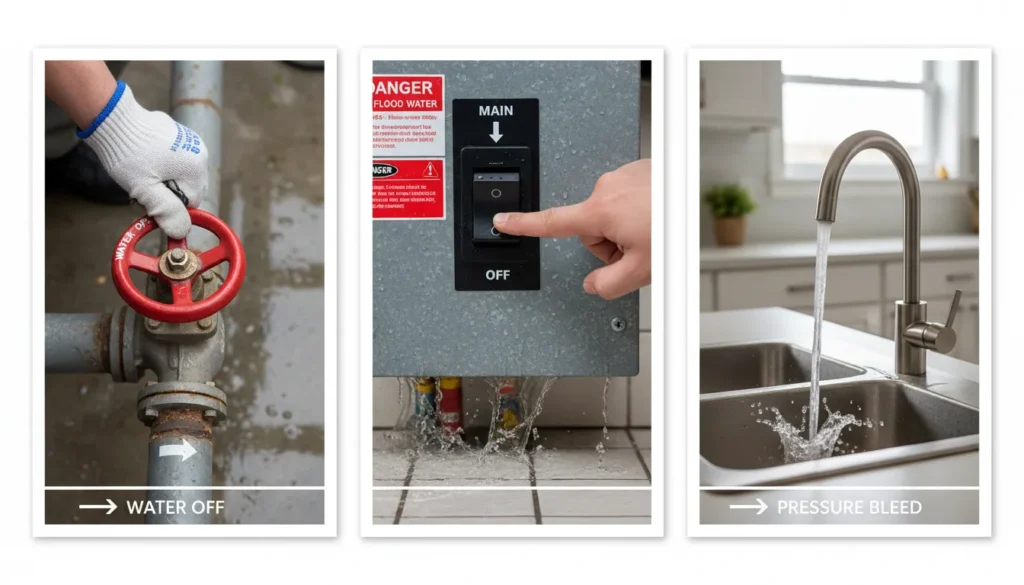
- Turn off the water supply at the main shutoff or the nearest isolation valve before cutting anything.
- Cut the pipe as straight as possible using a PVC pipe cutter or a fine-tooth hacksaw with a miter box.
- Remove burrs and rough edges from the inside and outside of the cut with sandpaper or a deburring tool.
- Dry-fit every joint first — push the pieces together without glue to confirm they seat properly.
- Make sure both surfaces are completely dry. Moisture is one of the most common reasons solvent-welded joints fail.
Step 1: Find Your Pipe Type, Then Pick Your Method
The single biggest mistake people make is trying to use one method for every situation. Solvent cement only works on rigid PVC or CPVC — it does nothing on copper, PEX, or steel. Use the table below to find your exact situation before you buy materials.
Connecting Rigid PVC to PVC (Solvent Welding)
This is the standard method for joining PVC to PVC and creates a permanent chemical weld rather than a mechanical seal. Here’s how to do it properly.
- Prep the pipe. Cut it straight, then deburr the inside and outside edges.
- Dry-fit the joint. Push the pipe into the fitting to confirm it seats snugly without forcing it.
- Apply primer. Brush PVC primer onto the outside of the pipe end and the inside of the fitting. This softens the surface so the cement can bond properly.
- Apply cement. While the primer is still wet, apply a generous, even coat of PVC cement to both the pipe and the fitting.
- Join and hold. Insert the pipe into the fitting immediately, give it a quarter-turn to spread the cement evenly, then hold it firmly in place for 15 to 30 seconds so it doesn’t push back out.
Common Mistakes That Cause Leaks
- Gluing a joint that wasn’t dry-fit first, so it doesn’t seat all the way
- Skipping the primer step, which weakens the bond
- Not holding the joint long enough, letting pressure push it back apart
- Working on a wet pipe or fitting, which prevents proper adhesion
- Using solvent cement on a pipe that isn’t rigid PVC or CPVC (it will not work on copper, PEX, or steel)
A note for Florida homeowners: Heat and humidity affect how PVC cement sets. In hot, humid weather, cement can start to set faster on the surface, so work quickly once it’s applied and avoid gluing in direct midday sun when possible. In cooler or damp conditions, give the joint a little extra hold time before moving it.
How Long Does PVC Cement Take to Cure?
Cure times vary by cement type, pipe diameter, temperature, and humidity — always check the manufacturer’s instructions on your specific can of cement.
Connecting PVC to Copper or PEX
If you’re transitioning your PVC line into copper or PEX supply pipe, solvent cement isn’t an option since it only bonds to PVC/CPVC. You have two reliable choices instead.
Threaded Adapters
Use a PVC male or female threaded adapter. Wrap the male threads with plumber’s (Teflon) tape to prevent leaks, then screw the adapter onto the copper or galvanized fitting on the other side.
Push-to-Connect Fittings
Push-fit fittings are rated for PVC, copper, and PEX in the same connection. No glue or soldering is required — you simply push the cleaned end of each pipe into the fitting until it clicks into place, creating a sealed joint. These are especially useful when you need a fast repair or you’re working in a tight space where soldering isn’t practical.
Connecting PVC to Flexible Poly Pipe or a Garden Hose
For irrigation lines, garden connections, or other low-pressure setups, you can join flexible poly tubing directly to PVC:
- Attach a PVC female coupler fitted with a threaded hose-barb adapter to your PVC line.
- Push the poly tubing or garden hose firmly over the barbed end.
- Secure it tightly with a metal hose clamp and a screwdriver so it can’t work loose under pressure.
This same barb-and-clamp approach answers a few related questions homeowners often have: connecting a hose bib to PVC, tying an outside faucet into a PVC line, or attaching a standard garden hose to a PVC pipe all use this basic method.
Glue-Free and Removable Connection Options
Not every joint needs to be permanent. If you’re working in wet conditions, joining PVC to an older or unknown pipe material, or you simply want a connection you can take apart later for maintenance, these options are worth knowing about.
Tapping Into an Existing PVC Line
If you need to add a new branch off a PVC line that’s already installed, you have two main options. You can cut into the existing pipe, remove a section, and install a tee fitting using solvent welding on both sides. Or, if cutting isn’t practical, a saddle-style tapping fitting can be clamped onto the outside of the pipe and sealed, allowing you to drill and tap into it without fully cutting the line. For pressurized supply lines, cutting in a proper tee fitting is generally the more reliable long-term solution.
Matching Pipe Diameter
One detail that trips people up is diameter mismatch. PVC is sized by nominal diameter, but the outside diameter doesn’t always match the labeled size exactly, and it can differ from copper or PEX pipe of the “same” size. Before buying fittings:
- Measure the outside diameter of both pipes with a tape measure or calipers rather than relying on the nominal size alone.
- Bring the pipe (or a cut sample of it) to the hardware store so you can test-fit the adapter before installing.
- Remember that reducing or increasing couplers exist if the two pipes genuinely differ in size — don’t force a fitting that doesn’t seat properly.
Connecting PVC Pipe Underground
For underground connections, such as irrigation lines or a buried water service line, solvent-welded joints are still the standard for rigid PVC because they hold up well below grade. A few extra precautions matter here: make sure the trench allows the pipe to lie flat and supported so joints aren’t under stress, let solvent-welded joints reach a full cure before backfilling or pressurizing the line, and use rated below-grade fittings if local code requires them. If you’re unsure about depth, bedding, or code requirements for buried supply lines, that’s a good point to get professional input rather than guess.
Cost and Difficulty at a Glance
Watch It Done
Reading through the steps helps, but watching the priming, gluing, and fitting process in real time makes it much easier to get right the first time. Here are a few walkthroughs worth watching before you start:
When to Call a Plumber Instead of DIY-ing It
Most simple PVC-to-PVC or PVC-to-hose connections are very doable on your own. But there are situations where it’s worth stopping and calling in a professional instead of risking a leak inside a wall, under a slab, or underground where a mistake is expensive to fix:
- The connection is behind a wall, under a slab, or otherwise hard to access if it fails
- You’re tying into your main water supply line rather than a low-pressure or irrigation line
- You’re not confident about pipe diameter, material compatibility, or local code requirements
- The joint is part of a larger repair, like a water heater replacement, where several connections need to be correct at once
If any of that sounds like your situation, it’s usually faster and cheaper in the long run to bring in a professional the first time rather than repair a failed DIY joint later. The team at Miami Florida Plumbing handles everything from small pipe connections to full repiping, and you can see the full range of what we cover on our plumbing services page.
Not sure your PVC connection will hold? Let’s take a look before it becomes a bigger problem.
Frequently Asked Questions
Key Takeaways
- Match your method to the pipe: solvent weld for PVC-to-PVC, threaded or push-fit for PVC-to-copper/PEX, barb-and-clamp for flexible tubing.
- Always shut off water, cut straight, deburr, and dry-fit before gluing anything.
- Give solvent-welded joints a full 24 hours to cure before running full water pressure through them.
- Glue-free options (push-fit, compression, rubber couplings) are worth using when you need a removable or quick connection.
- For hidden, underground, or main-line connections, it’s worth getting a second opinion before you close up the wall or backfill the trench.