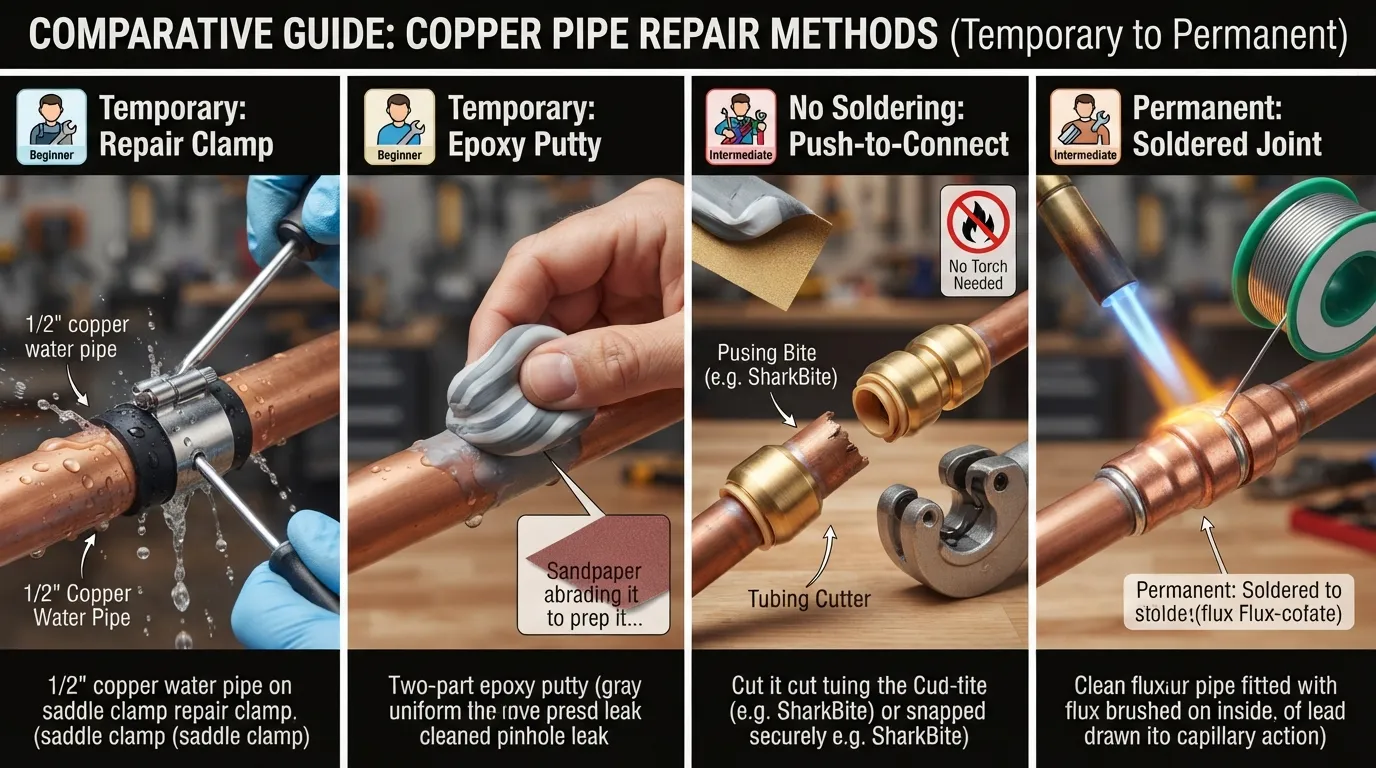
If you’ve spotted a tiny, steady drip coming from your copper pipe, you’re dealing with a pinhole leak. It looks small, but it won’t fix itself, and it can quietly damage your walls, flooring, or ceiling if you leave it alone. The good news is you have real options here — from a five-minute emergency patch to a permanent, watertight repair.
In this guide, I’ll walk you through what actually stops a pinhole leak, why it happened in the first place, and how to tell whether this is a quick DIY job or a sign of a bigger plumbing problem.
To temporarily stop a pinhole leak, shut off your main water supply, dry the pipe, and apply a pipe repair clamp with a rubber gasket or plumbing epoxy putty over the hole. For a permanent fix, cut out the damaged section and replace it with a new copper coupling using solder, or use a push-to-connect fitting if you want to skip soldering entirely.
What Causes Pinhole Leaks in Copper Pipes?
Before you patch the leak, it helps to understand why it happened — because a single pinhole is often a symptom, not a random accident. Copper pipes typically develop pinhole leaks because of:
- Pinhole corrosion — small, localized spots where the inside of the copper wears through faster than the surrounding pipe, often due to water chemistry or mineral content.
- High water pressure — pressure that’s consistently too high stresses pipe walls over time.
- Water velocity and turbulence — tight bends, undersized pipes, or poor installation can erode copper from the inside out.
- Age of the plumbing system — older copper lines are simply more likely to have thin spots that eventually give way.
- Acidic or aggressive water — water with low pH or high oxygen content can accelerate corrosion in copper piping.
One pinhole leak isn’t usually an emergency. But if you’re finding pinhole leaks in more than one spot, or they keep showing up every few months, that’s a different situation — and we’ll cover what that means further down.
Before You Start
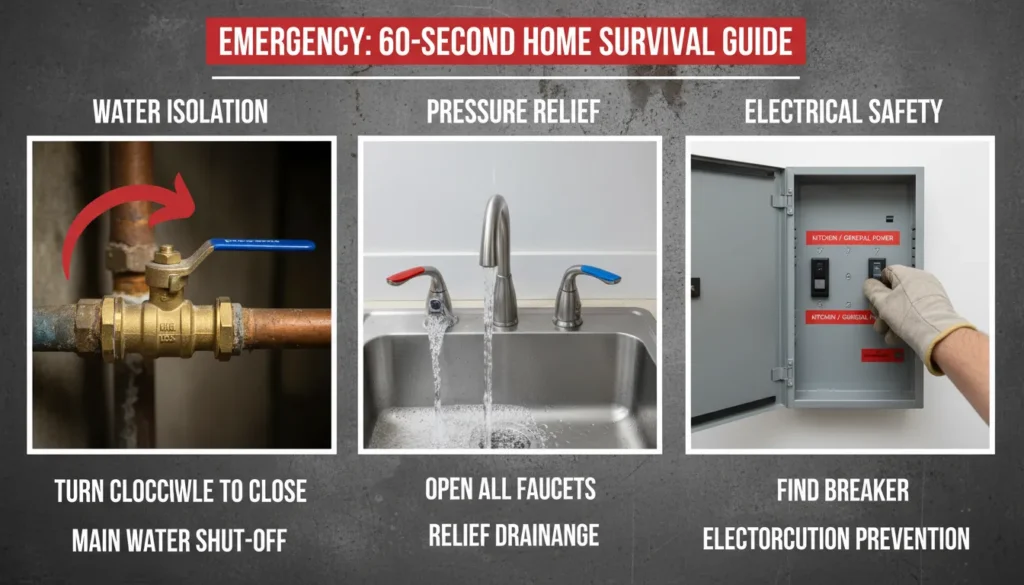
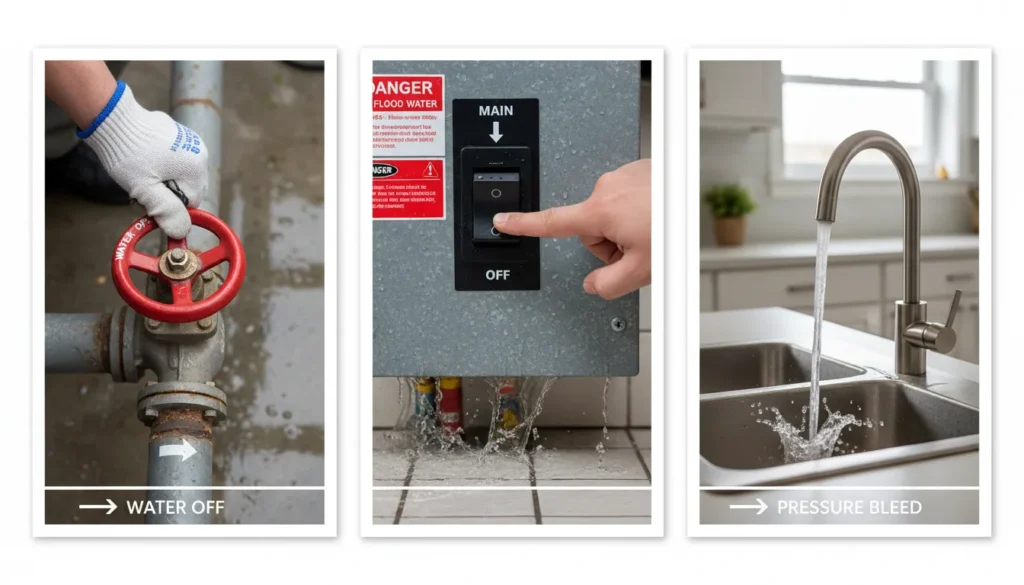
Turn off your home’s main water supply before touching the pipe. Then open a nearby faucet to relieve pressure and let the line drain. Working on a pressurized pipe makes any repair — temporary or permanent — far less likely to hold.
Temporary Fixes for a Pinhole Leak (Quick DIY Options)
These methods will stop the leak right away, but they’re not meant to be permanent. Think of them as a way to buy yourself time until you can do — or schedule — the permanent repair.
1. Pipe Repair Clamp
A pipe repair clamp is the most reliable temporary fix. Wrap the rubber patch that comes with the clamp directly over the hole, then position the metal clamp around it and tighten the screws evenly until it’s snug. This creates mechanical pressure that seals the leak without any curing time, so you get water back on almost immediately.
2. Plumbing Epoxy Putty
Plumbing epoxy is a two-part putty made specifically for wet environments. Dry the pipe completely and rough up the surface around the hole with sandpaper so the epoxy has something to grip. Knead the two parts together until the color is uniform, then press it firmly over the leak, extending it slightly past the edges of the hole. Let it cure fully before restoring water pressure — curing time varies by product, so check the packaging.
3. Push-to-Connect Fittings
If the pinhole is in a section you’re comfortable cutting into, a push-to-connect fitting (like a SharkBite-style connector) is one of the easiest ways to solve the problem without a torch. Use a tubing cutter to remove the damaged section, then push the fitting onto the two clean pipe ends until it seats. No soldering, no flux, no flame — it’s a solid option whether you’re treating it as temporary or leaving it in place longer-term.
Does Tape Actually Stop a Pinhole Leak?
This comes up a lot, so let’s address it directly: regular tape — including duct tape and gorilla tape — is not a reliable fix for a pinhole leak. Tape can’t create a watertight seal against pressurized water on a curved metal surface, and adhesive doesn’t hold up once the pipe is wet. At best, it might slow a drip for a few minutes while you shut off the water or grab proper supplies.
If you genuinely have nothing else on hand in an emergency, a rubber patch held firmly in place with hose clamps (not tape) will outperform any tape product. For an actual seal, a purpose-made plumbing epoxy putty or a repair clamp with a rubber gasket is what you want — these are designed to bond and compress against metal and water, which tape simply isn’t built to do.
Permanent Fix: Soldering a New Section
Soldering is the standard, long-lasting way to repair a pinhole leak in copper pipe. It takes a bit more skill and the right tools, but it restores the pipe to a proper watertight, structural repair rather than a patch.
- Shut off and drain the line. Turn off the main water supply and open the nearest faucet to drain remaining water from the pipe.
- Cut out the damaged section. Use a tubing cutter to remove the area with the pinhole, cutting cleanly on both sides.
- Clean the pipe ends. Use emery cloth to clean the outside of the pipe ends and the inside of a new copper coupling until both surfaces are bright and shiny. Solder won’t bond properly to a dull or oxidized surface.
- Apply flux. Brush a thin, even layer of plumbing flux paste onto the cleaned pipe ends and inside the coupling.
- Assemble and heat. Push the coupling onto both pipe ends. Apply a propane torch evenly around the joint until it’s hot enough to melt solder on contact.
- Solder the joint. Touch lead-free solder wire to the heated joint (not directly to the flame). Capillary action will draw the melted solder into the joint, sealing it completely around the fitting.
- Let it cool, then test. Allow the joint to cool naturally before restoring water pressure, then check closely for any drips.
Helpful Tips
- Any water left inside the pipe will ruin your solder joint. If you can’t fully drain a section, push a small piece of bread into the pipe past the repair point to temporarily block drips — it dissolves and clears out on its own once the water is back on.
- Always place a flame-protector cloth or heat shield behind the joint to protect nearby wood, insulation, or drywall from the torch flame.
Comparing Your Repair Options
Here’s how the four main methods stack up against each other, so you can pick the right one for your situation.
Pipe Repair Clamp
Skill level: Beginner-friendly
Tools needed: Minimal — clamp kit and a screwdriver
Type of fix: Temporary
Best for: Immediate emergency control while you plan a permanent repair
Plumbing Epoxy Putty
Skill level: Beginner-friendly
Tools needed: Sandpaper, epoxy putty
Type of fix: Temporary (needs cure time before use)
Best for: Pinholes in awkward spots a clamp can’t wrap around
Push-to-Connect Fitting
Skill level: Beginner to intermediate
Tools needed: Tubing cutter, fitting
Type of fix: No soldering required; can serve as a longer-term repair
Best for: Anyone who wants a solid fix without using a torch
Soldering
Skill level: Intermediate — requires a steady hand and torch experience
Tools needed: Tubing cutter, torch, flux, solder, coupling
Type of fix: Permanent
Best for: A lasting, structural repair you won’t need to revisit
Watch the Repair in Action
If you’d rather see the process step by step before picking up a tool, this walkthrough covers the soldering repair from start to finish:
When a Pinhole Leak Means Something Bigger
A single pinhole leak is usually an isolated repair. But if you’ve had more than one pinhole leak show up in your copper piping over the past year — or you’re noticing them near your water heater — it’s often a sign that the pipe material itself is nearing the end of its service life rather than a one-off defect.
This is especially common around older water heaters, where heat and mineral buildup accelerate corrosion in the connecting lines. If that sounds like what you’re dealing with, it may be worth having your water heater inspected or replaced rather than repeatedly patching the pipes feeding it.
DIY or Call a Plumber? Quick Self-Check
DIY is usually fine if:
- You’ve found a single pinhole leak in an accessible section of pipe
- You’re comfortable shutting off your water supply and working with basic tools
- You just need a temporary patch to stop the drip today
Call a plumber if:
- You’ve had multiple pinhole leaks in different spots
- The leak is behind a wall, ceiling, or in a hard-to-reach area
- You’re not confident soldering near flammable materials
- The pipe looks visibly corroded beyond just one small hole
Get It Fixed Right the First Time
A temporary patch will buy you time, but if you’d rather have it handled properly — or you’re seeing this problem more than once — our team can take care of it. We offer full plumbing repair services across the area, and we’re happy to take a look at whether your existing pipes need a simple repair or a longer-term solution.
Dealing with a stubborn or repeat pipe leak?
Our team at Miami Florida Plumbing can diagnose the cause and fix it properly.
Frequently Asked Questions
Can you seal a pinhole leak in a copper pipe?
Yes. A pipe repair clamp with a rubber gasket or plumbing epoxy putty will seal a pinhole leak temporarily. For a permanent seal, the damaged section needs to be cut out and replaced with a soldered coupling or a push-to-connect fitting.
What causes pinholes in copper water pipes?
Pinhole leaks are usually caused by localized corrosion inside the pipe, often linked to water chemistry, high water pressure, water velocity at bends or fittings, or simply the age of the plumbing.
How do I temporarily fix a pinhole leak in a pipe?
Shut off the water, dry the pipe, and apply a repair clamp with a rubber patch, or use plumbing epoxy putty pressed firmly over the hole. Both stop the leak without needing a torch.
Will duct tape or gorilla tape stop a leaking pipe?
No. Neither duct tape nor gorilla tape creates a reliable watertight seal on a pressurized, wet copper pipe. They may briefly slow a drip, but they’re not a substitute for a repair clamp or epoxy putty.
What type of tape do plumbers use to stop leaks?
Plumbers generally don’t rely on tape for active leaks. For a genuine seal, they use rubber-gasket repair clamps or plumbing-grade epoxy putty, since tape doesn’t bond reliably to wet metal under pressure.
What type of sealant can I use to fix a leaking copper pipe?
A two-part plumbing epoxy putty made for wet environments is the standard sealant choice. It’s applied directly over the cleaned, dried area around the hole and needs to fully cure before water pressure is restored.
Can I repair a leaking copper pipe without soldering?
Yes. Push-to-connect fittings let you cut out the damaged section and snap a new fitting onto the pipe ends with no torch, flux, or solder involved.