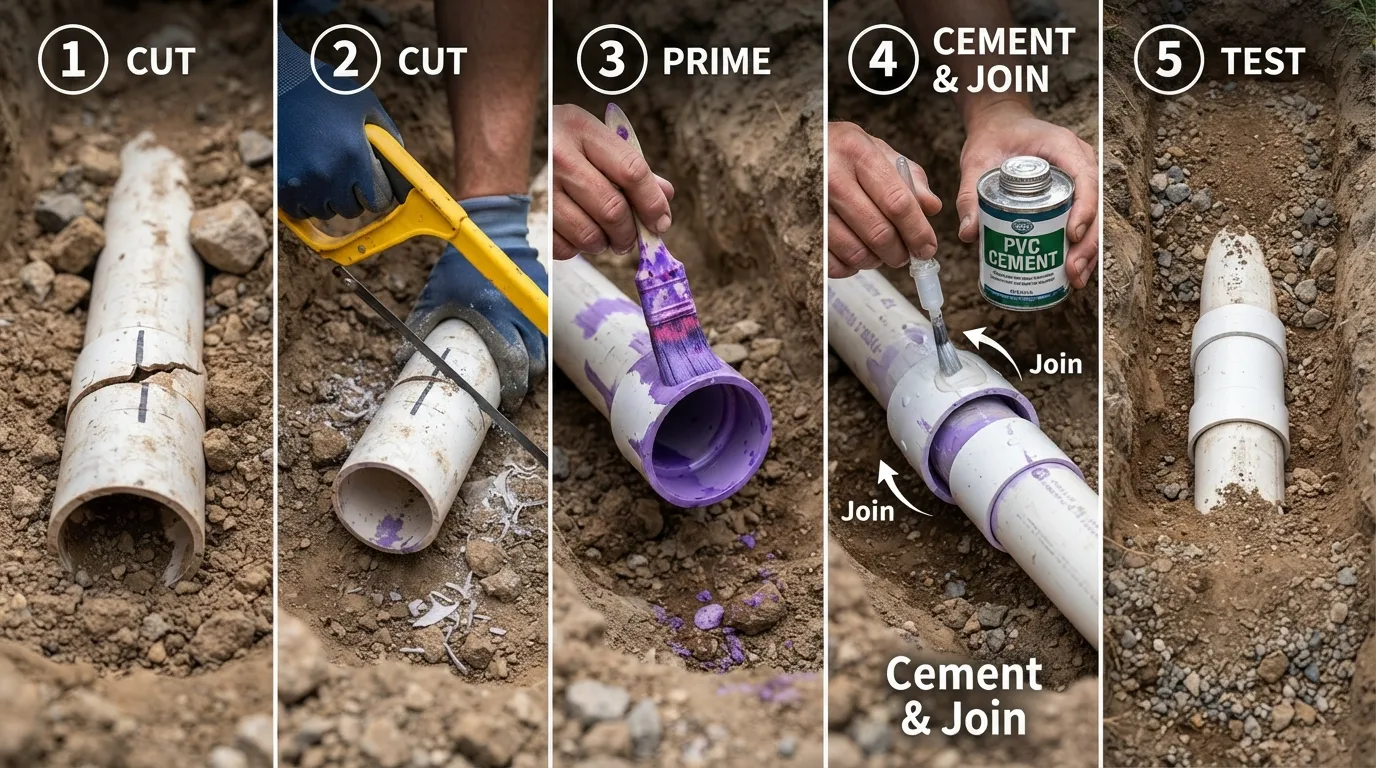
If you’ve noticed a soggy patch in your yard, a sudden drop in water pressure, or an unexplained spike on your water bill, there’s a good chance you’re dealing with a broken PVC pipe underground. The good news is that repairing PVC pipe is one of the more manageable plumbing repairs you can attempt yourself — as long as you know exactly what you’re doing before you start digging.
In this guide, I’ll walk you through the entire process: how to confirm you actually have a leak, the tools and materials you need, the exact repair steps, how to choose the right bonding method for your situation, and — just as important — when it’s time to stop digging and call a professional instead.
To repair a PVC pipe in the ground, shut off the water, dig around the damaged section, cut out the broken piece with about 1–2 inches of good pipe on either side, dry-fit a replacement piece and coupling, prime and cement the joints, hold each connection for about 30 seconds, then let it cure before turning the water back on and testing for leaks.
Signs You Have a Broken PVC Pipe Underground
Before you grab a shovel, it helps to confirm what you’re actually dealing with. Common signs of a damaged underground PVC pipe include:
- Soggy, swampy, or unusually wet patches in the yard with no obvious source
- Grass that’s greener or more overgrown in one specific area
- A noticeable drop in water pressure inside the house
- A higher-than-normal water bill with no change in usage
To confirm the leak before you dig, locate your water meter, shut off your main indoor valve along with every faucet, and check the meter again after about 30 minutes. If the reading has moved, water is escaping somewhere in the line — and that’s your cue to start locating the damaged section.
Tools and Materials You’ll Need
- Shovel (or a small trenching tool for tighter spaces)
- Hacksaw or a dedicated PVC pipe cutter
- Replacement PVC pipe matching your existing pipe’s schedule and diameter
- PVC couplings or repair sleeves
- PVC primer and PVC cement (solvent weld)
- Sandpaper or a deburring tool
- Clean rag
- Measuring tape
- Gloves and safety glasses
⚠️ Before You Dig
Always call 811 (Sunshine State One Call of Florida) at least a few business days before digging. This free service marks buried electrical, gas, and utility lines on your property so you don’t accidentally strike something far more dangerous than a broken water pipe.
Step-by-Step: How to Repair PVC Pipe in the Ground
1. Turn Off the Water Supply
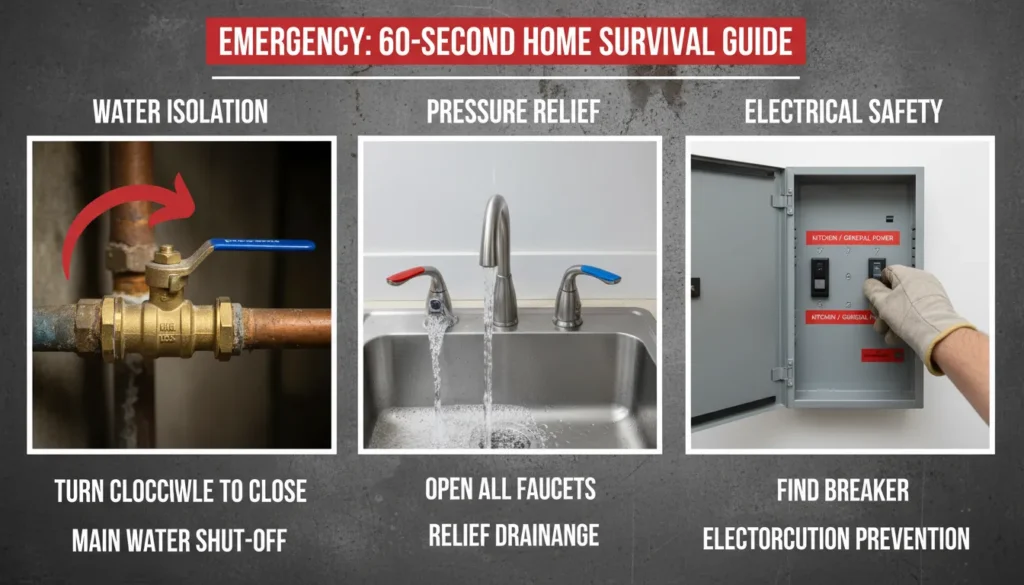
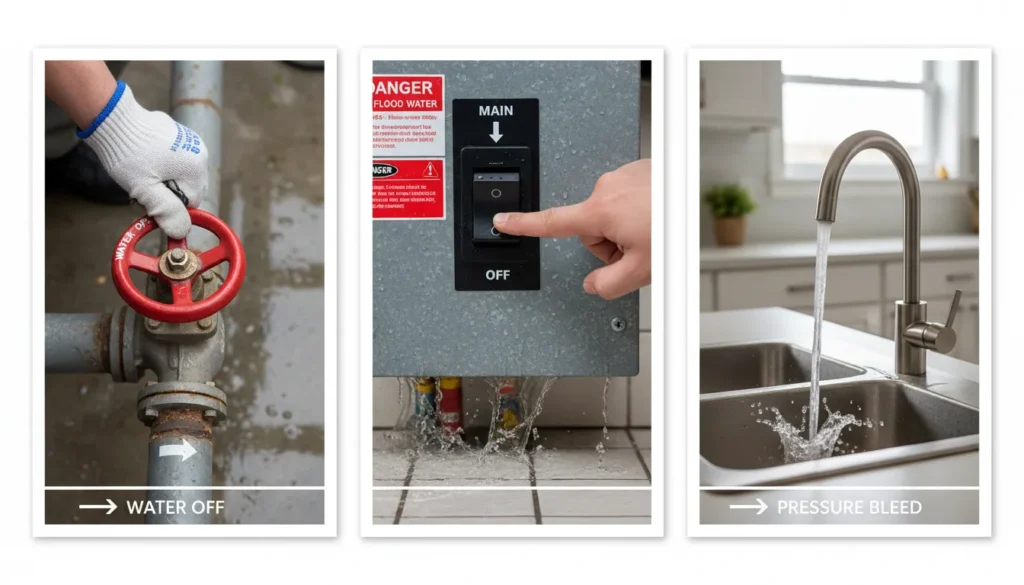
Shut off the main water valve and open the nearest faucets to drain any remaining water from the line. This keeps your work area dry and prevents water from spraying while you cut the pipe.
2. Dig Around the Damaged Pipe
Carefully excavate the area, creating a hole roughly 6 inches wider and deeper than the pipe on all sides. This gives you enough room to cut, fit, and glue the new section without fighting the trench walls. Wipe the exposed pipe clean with a rag once it’s fully uncovered.
3. Mark and Cut Out the Damaged Section
Mark your cut lines about 1 to 2 inches beyond the visible crack on each side — hairline fractures often extend further than they appear. Use your hacksaw or PVC cutter to make clean, straight cuts, then smooth the cut edges with sandpaper to remove any burrs.
4. Dry-Fit the Replacement Piece
Measure the gap and cut a new piece of PVC pipe to match. Before applying any cement, dry-fit the new pipe and couplings in place to make sure everything lines up correctly. This step catches sizing mistakes before they become permanent.
5. Prime and Cement the Joints
Apply PVC primer to the outside of the pipe ends and the inside of the couplings — this softens the plastic surface so the cement can form a true chemical bond. Follow immediately with PVC cement on the same primed areas, then push the pieces together with a quarter turn to spread the cement evenly. Hold each joint firmly for about 30 seconds so it doesn’t slip apart while setting.
6. Let It Cure Before Testing
PVC cement typically forms an initial bond within 15–30 minutes, but manufacturers generally recommend waiting several hours before pressurizing the line, and up to 24 hours for full cure strength. Check your specific cement label, since cure times vary by product and temperature.
7. Turn the Water Back On and Test
Turn the water on slowly and inspect every joint closely for drips or seepage. Let the system run for a while before you’re confident the repair is holding.
8. Backfill the Trench
Once you’ve confirmed there are no leaks, backfill the trench in layers, lightly compacting the soil as you go so it doesn’t settle unevenly later.
Does Pipe Size Change the Repair?
The core process stays the same regardless of diameter, but larger pipes need more care with alignment and cure time. Here’s a general guide:
| Pipe Diameter | Common Use | Repair Notes |
|---|---|---|
| 1/2″ – 3/4″ | Sprinkler/irrigation lines | Easiest to cut and cement; smaller couplings set quickly |
| 1″ – 2″ | Household water supply lines | Requires firm, even pressure on joints for a full seal |
| 4″ and above | Drain, waste, and vent (DWV) lines | Best handled with two people; alignment is harder to correct once cemented |
Drinking Water Line vs. Sprinkler Line: Does It Matter?
Yes, and it’s a detail most guides skip. If the damaged pipe carries drinking water into your home, use only NSF-rated PVC pipe, fittings, and cement rated for potable water — this is usually labeled clearly on the product. Standard PVC cement used for irrigation or drainage lines isn’t always rated for potable water systems, so mixing them up can be a health and code compliance issue.
For a sprinkler or irrigation line, the repair process is identical, but you have more flexibility with materials since it isn’t a drinking water application. If you’re not sure which type of line you’re working on, it’s worth having a licensed plumbing professional confirm before you cement anything permanently.
PVC Cement vs. Epoxy vs. Repair Tape: Which Should You Use?
One of the most common points of confusion is whether to use PVC cement, a 2-part epoxy, or a temporary tape/clamp fix. Here’s how they compare:
| Method | Best For | Permanence |
|---|---|---|
| PVC Primer + Cement | Cutting out and replacing a damaged section | Permanent — chemically fuses the pipe |
| 2-Part Epoxy (e.g., waterproof plumbing epoxy) | Small hairline cracks or pinhole leaks without cutting the pipe | Semi-permanent, depending on product and pressure |
| Rubber/Silicone Tape or Hose Clamp | Emergency stopgap until a proper repair can be done | Temporary only |
A quick note on specific products people often ask about: general-purpose adhesives like Gorilla Glue or plumber’s putty are not designed for pressurized PVC water lines and shouldn’t be relied on as a permanent fix. If you’re looking for a bonded, waterproof epoxy solution for a small crack, look specifically for a product labeled for plumbing or PVC repair use, and always check that it’s rated for the water pressure and temperature of your line.
Key Takeaway
Tape and clamps buy you time. Epoxy handles small cracks without replacing the pipe. Cutting and cementing a new section is the only truly permanent fix for a broken PVC pipe.
Fixing a PVC Leak Without Replacing the Whole Pipe
If the crack is small and you need a fast fix, a rubber and silicone repair tape wrapped tightly around the leak, followed by a hose clamp to hold it in place, can stop water flow temporarily. Clean and dry the area first so the tape adheres properly. This isn’t a permanent solution — treat it as a bridge until you can either complete a full cut-and-cement repair or have a professional handle it.
Repairing PVC Pipe Under Concrete
If the damaged pipe runs beneath a concrete slab, driveway, or patio, digging it up yourself becomes far more complicated and risky. Breaking through concrete can damage structural elements or other utility lines, and it’s easy to misjudge where the pipe actually runs once it’s under a slab. This is a scenario where calling a professional plumber for proper leak detection and trenchless or targeted repair options is usually the safer route.
Common Causes of Underground PVC Pipe Damage
- Tree and shrub roots: Roots naturally seek out moisture and can crack or crush pipe over time as they grow around it.
- Ground shifting: Soil movement from settling, heavy rain, or nearby construction can stress joints and cause cracks.
- Freeze damage: Water left in irrigation lines during a freeze can expand and split the pipe.
- Age and material fatigue: Older PVC installations can become brittle over decades of exposure.
In South Florida specifically, sandy soil and a naturally high water table mean underground pipes shift more than they would in firmer soil types, and heavy seasonal rain can accelerate erosion around a buried line. If you’re repairing pipe repeatedly in the same area of your yard, it’s worth having the surrounding soil and root systems checked rather than just patching the same spot again.
Watch: PVC Pipe Repair Walkthrough
If you’d like to see the cutting, priming, and cementing process in action before you start, this video walks through the repair visually:
When to Call a Professional Instead
Call a licensed plumber if:
- You can’t pinpoint the source of the leak without digging up your entire yard
- The damaged section runs under a driveway, slab, or concrete patio
- The pipe is a main drinking water line and code compliance matters
- You’ve repaired the same area more than once and suspect a bigger underlying issue
- You’re not confident cutting, priming, or cementing pressurized lines
A DIY repair can absolutely work for a straightforward, accessible break. But a professional brings proper leak detection equipment, can confirm whether the pipe or a deeper issue (like root intrusion or soil erosion) is the real cause, and can make sure the repair meets local plumbing code — especially on drinking water lines. If you’d rather have it handled correctly the first time, the team at Miami Florida Plumbing can take care of the diagnosis and repair for you.
Frequently Asked Questions
How do I fix a broken PVC pipe in the ground?
Shut off the water, dig around the damaged section, cut out the broken piece, then prime and cement a new piece of pipe and couplings in its place before backfilling.
How do you join PVC pipe in the ground?
Use a coupling or repair sleeve sized to match your pipe diameter, apply PVC primer and cement to both surfaces, then push the pieces together with a quarter turn and hold for about 30 seconds.
What is the best epoxy to use for repairing PVC pipes?
Look for a two-part epoxy specifically labeled for PVC or plumbing repair and rated for your line’s water pressure. It’s best suited for small cracks or pinhole leaks, not full pipe replacement.
Is Gorilla Glue good for PVC pipe?
No. Gorilla Glue isn’t designed for pressurized water lines and won’t create the watertight seal PVC cement provides. It’s not recommended as a repair method for underground pipe.
Will plumber’s putty stop a leak on PVC?
Not reliably. Plumber’s putty is meant for sealing fixtures like drains and faucets, not for repairing cracks in pressurized PVC piping.
How do you fix a PVC pipe leak without replacing it?
For small leaks, a rubber/silicone repair tape wrapped tightly around the crack, secured with a hose clamp, can stop the leak temporarily. This is a short-term fix, not a permanent solution.
Final Thoughts
Repairing a PVC pipe in the ground is a manageable weekend project if the damage is accessible, the pipe size is standard, and you take your time with each step — especially the priming and cementing. But if the leak is under concrete, keeps recurring, or you’re dealing with a main drinking water line, it’s worth having it looked at professionally rather than risking a repeat repair a few months down the road.
Not sure if this is a DIY fix?
Our licensed plumbers can locate the leak, confirm the cause, and repair it correctly the first time.
For more plumbing guides and repair help, visit our full plumbing services page, or head back to our homepage to explore everything we offer.