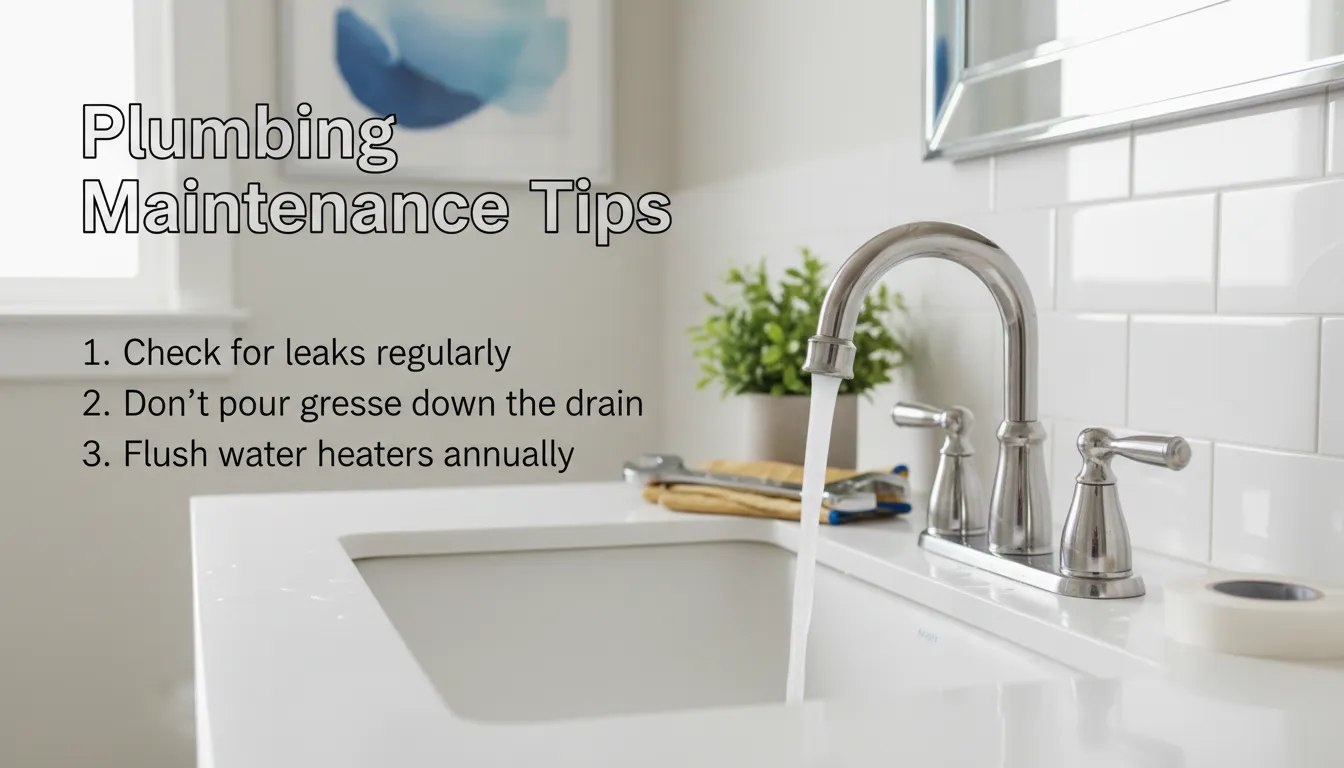
Plumbing Maintenance Tips: The Ultimate Guide to Preventing $10,000 in Damages
Most homeowners treat their plumbing like an “out of sight, out of mind” system—until a ceiling leaks or a basement floods. However, did you know that your plumbing system represents approximately 15% of your home’s total value? Neglecting it is a financial risk you can’t afford to take.
By following expert plumbing maintenance tips, you can avoid skyrocketing emergency bills and significantly extend the lifespan of your pipes and appliances. Consider this: a single faucet dripping just once per second wastes over 4,000 liters of water per year. That is not just wasted water; it is wasted money.
In this guide, we move beyond generic advice to provide you with the professional diagnostic techniques and technical insights used by senior plumbers. From managing “silent” pressure spikes to extending your water heater’s life by a decade, here is how you can secure a leak-free home.
The “Silent Killers”: Why Your Pipes Fail from the Inside Out
Many homeowners believe that “more pressure is better” for showers. In reality, excessive water pressure is one of the leading causes of shortened appliance lifespans and pinhole leaks.
1. Monitoring Water Pressure (The PSI Secret)
Standard residential plumbing is designed to handle a specific range of pressure. If your pressure is too high, it stresses Every joint, valve, and seal in your home.
The Gold Standard: Your home’s water pressure should ideally sit between 40 and 60 PSI (pounds per square inch).
The Danger Zone: Anything consistently above 80 PSI can void the warranties on your dishwasher and washing machine, and eventually cause “water hammer”—that loud banging noise you hear when a faucet is turned off.
The Solution (PRV): If your pressure is high, you likely need a Pressure Reducing Valve (PRV). This device acts as a gatekeeper for your home, ensuring that even if the municipal supply spikes, your internal pipes remain safe.
2. Hard Water and Limescale: The Slow Erosion
If you see white, crusty buildup on your faucets, you have Hard Water. This is a high concentration of minerals like calcium and magnesium.
The Risk: Limescale doesn’t just look ugly; it narrows the internal diameter of your pipes (like a clogged artery) and builds up inside your water heater, causing it to overheat and fail.
Maintenance Tip: Regularly unscrew your faucet aerators and soak them in white vinegar for 24 hours to dissolve mineral deposits. This simple 10-cent “fix” restores flow and prevents back-pressure on the fixture.
How Long Does Plumbing Last in a House?
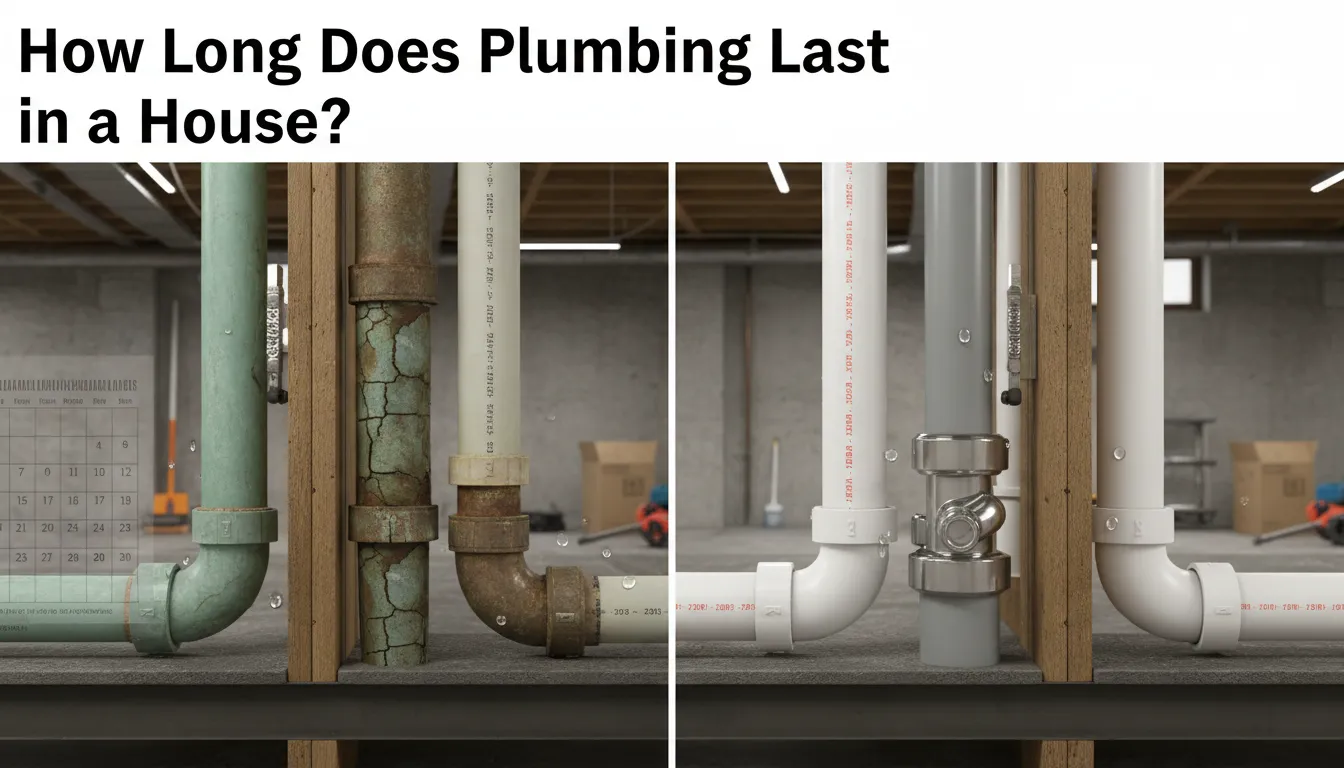
One of the most common questions homeowners ask is when they should expect a total system failure. While regular maintenance extends life, every material has an expiration date. Understanding these timelines helps you plan for upgrades before an emergency occurs.
The Ultimate Pipe Longevity Comparison Chart
| Pipe Material | Average Lifespan | Common Uses | Signs of Failure |
| PEX (Cross-linked Polyethylene) | 40 – 50 Years | Modern supply lines | Brittle texture, exterior cracks |
| Copper | 50 – 70 Years | Main water supply | Greenish corrosion (patina), pinhole leaks |
| PVC (Polyvinyl Chloride) | 25 – 40 Years | Drain & vent lines | Cracking, joint separation |
| Galvanized Steel | 20 – 50 Years | Older home supply | Low water pressure, “rusty” tinted water |
| Cast Iron | 75 – 100 Years | Main sewer lines | Slow drains, frequent backups, “sewer” smell |
3 Red Flags Your Pipes Need Replacing
Even if your pipes haven’t reached their “limit” yet, certain environmental factors can speed up decay:
Discolored Water: If your water looks brown or yellow after not being used for a few hours, it’s a sign that Galvanized Steel pipes are rusting from the inside out.
Frequent Clogs: In older Cast Iron sewer lines, the interior becomes rough over time, catching debris and causing recurring blockages.
Visible Corrosion: If you see blue-green stains on copper or white “furry” deposits on brass, the metal is actively thinning.
Advanced Leak Detection: How to Find “Invisible” Leaks
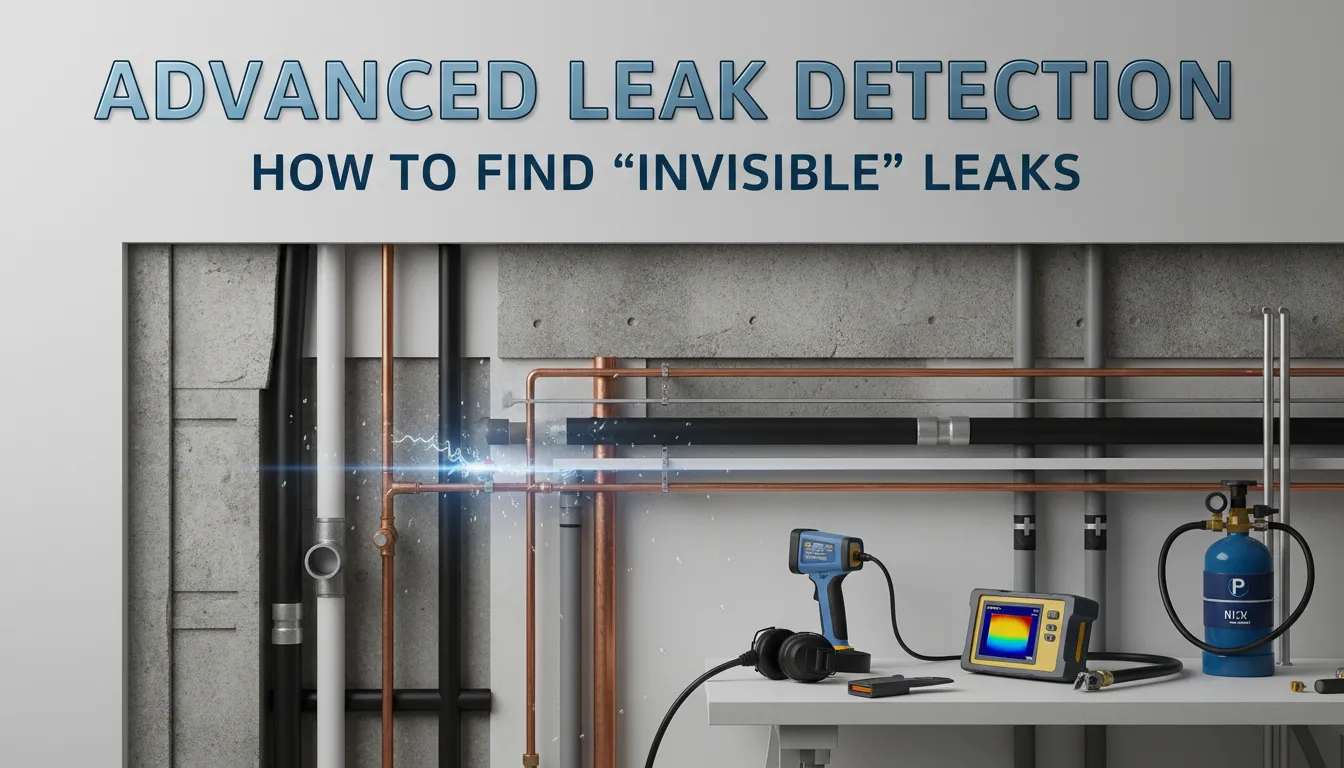
The most dangerous leaks aren’t the ones you see under the sink; they are the ones hidden inside your walls or under your foundation. To prevent plumbing leaks from causing structural damage, you need to use your water meter as a diagnostic tool.
The “1-Hour Water Meter Test” (4-Step Guide)
This is a professional trick to identify if your home has a “silent” leak.
Zero Usage: Ensure all water-using appliances (dishwasher, washing machine, ice maker) are turned off. Do not flush any toilets during this hour.
Locate the Meter: Find your water meter (usually in a concrete box near the street or in the basement).
Check the “Low-Flow Indicator”: Most meters have a small red or white triangle (or a star-shaped wheel). This is the low-flow indicator. If that dial is spinning even slightly while all water is off, you have an active leak.
The Wait Test: If your meter is digital, record the current reading. Wait exactly one hour without using any water. If the number has changed by even one digit, you have a leak that needs immediate attention.
The “Food Coloring” Toilet Hack
Toilets are the #1 source of hidden water waste. A leaking flapper valve can waste 200 gallons a day without making a single sound.
The Test: Drop 3–5 drops of dark food coloring into the toilet tank (not the bowl).
The Result: Wait 20 minutes. If the water in the bowl changes color without flushing, your flapper is leaking. This is a $5 part that saves you $100s in water bills.
Water Heater Mastery: Why a $30 Part Saves a $1,500 Tank
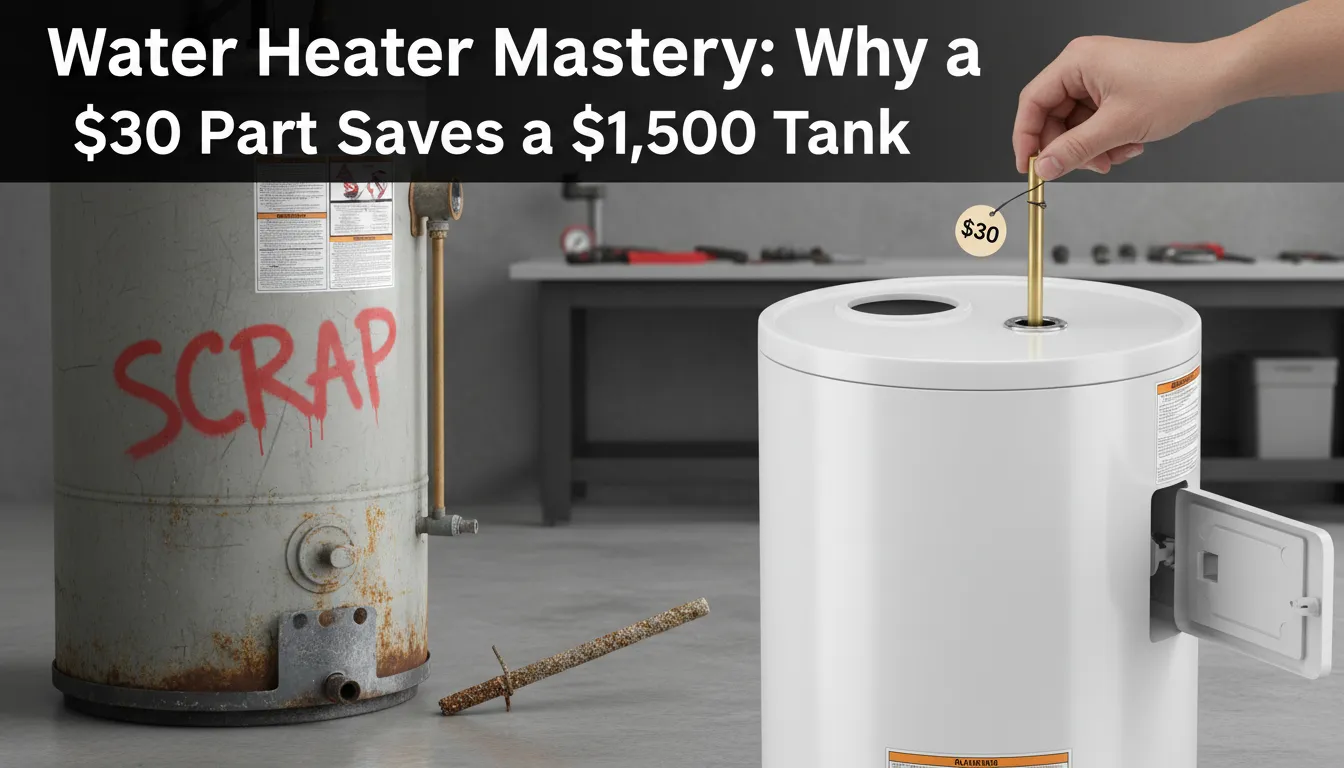
Your water heater is likely the most expensive appliance in your plumbing system. While most plumbing maintenance tips suggest flushing the sediment annually, they ignore the “sacrificial soldier” inside your tank that prevents it from rusting out.
1. The Sacrificial Anode Rod (The Ultimate Content Gap)
Inside every steel-lined water heater is a magnesium or aluminum rod called a Sacrificial Anode Rod.
The Science: Through a process called electrolysis, the water’s corrosive elements attack the rod instead of the steel tank.
The Maintenance: Once the rod is 50% corroded, it can no longer protect the tank. If you replace this rod every 3–5 years, your water heater can last 20+ years instead of the typical 8–10.
Pro Tip: If your hot water starts smelling like “rotten eggs,” it’s a sign your anode rod has reacted with bacteria and needs a zinc-alloy replacement.
2. How to Safely Flush Your Water Heater
Sediment (limescale and minerals) acts as an insulator, making your heater work harder and eventually causing the bottom of the tank to overheat and crack.
Turn Off the Power/Gas: Never drain a heater while it’s heating.
Connect a Hose: Attach a standard garden hose to the drain valve at the bottom.
The “Mini-Flush”: Open the valve for 30 seconds to flush out the heavy sediment at the bottom.
Check the Clarity: If the water looks like “sand,” continue flushing until it runs clear.
3. The 120°F Rule
Check your thermostat. Most manufacturers set it to 140°F, but 120°F is the “sweet spot.” It is hot enough to kill bacteria but slow enough to reduce mineral buildup and prevent accidental scalding.
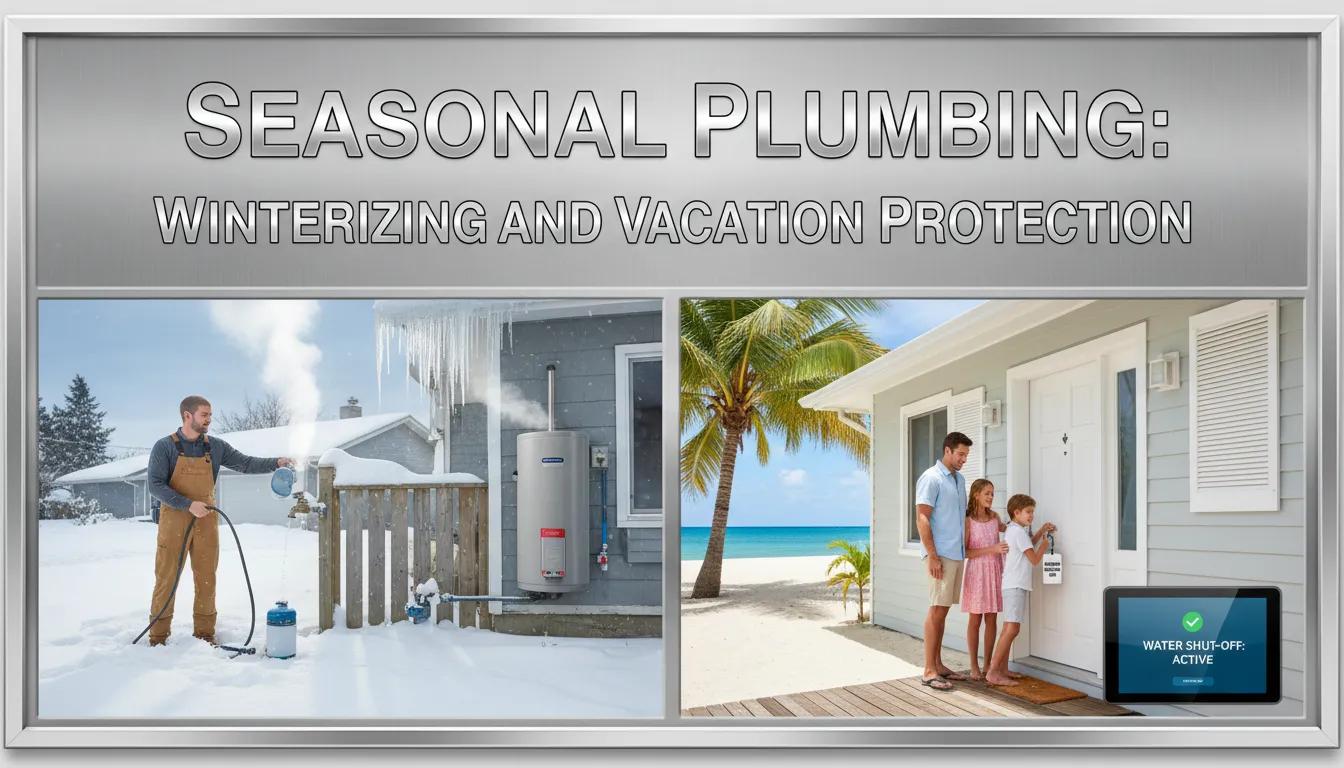
Seasonal Plumbing: Winterizing and Vacation Protection
Weather changes are the biggest external threat to your pipes. Whether you are dealing with a summer drought or a winter “Polar Vortex,” your maintenance routine must adapt.
1. Winterizing Your Home: Does Plumbing Freeze?
The short answer is: Yes. When water freezes, it expands by approximately 9%. If that water is trapped inside a copper or PEX pipe, the pressure can exceed 3,000 PSI, causing the pipe to split instantly.
The 55°F Rule: If you are leaving your home during winter, never set your thermostat below 55°F (13°C). This ensures that the air inside your wall cavities stays warm enough to prevent the “freeze point.”
Outdoor Spigots: Disconnect garden hoses before the first frost. A connected hose traps water in the spigot; when it freezes, it bursts the pipe inside your wall.
Pipe Insulation: Wrap exposed pipes in unheated areas (like crawlspaces or attics) with foam pipe sleeves. This simple DIY step can prevent a multi-thousand dollar flood.
2. The “Vacation Mode” Checklist
An unattended leak is a homeowner’s worst nightmare. If you are leaving for more than 48 hours, follow this protocol:
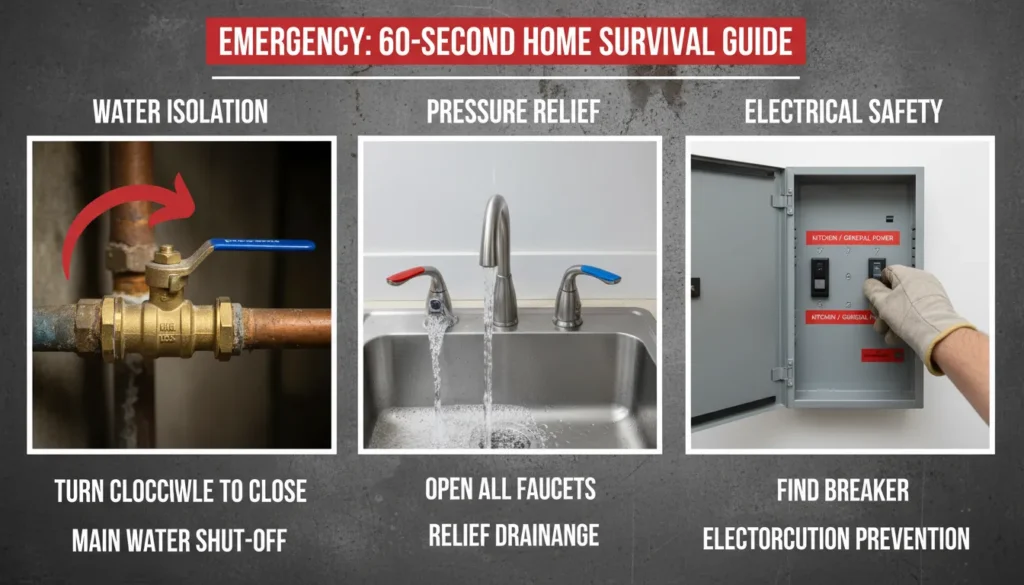
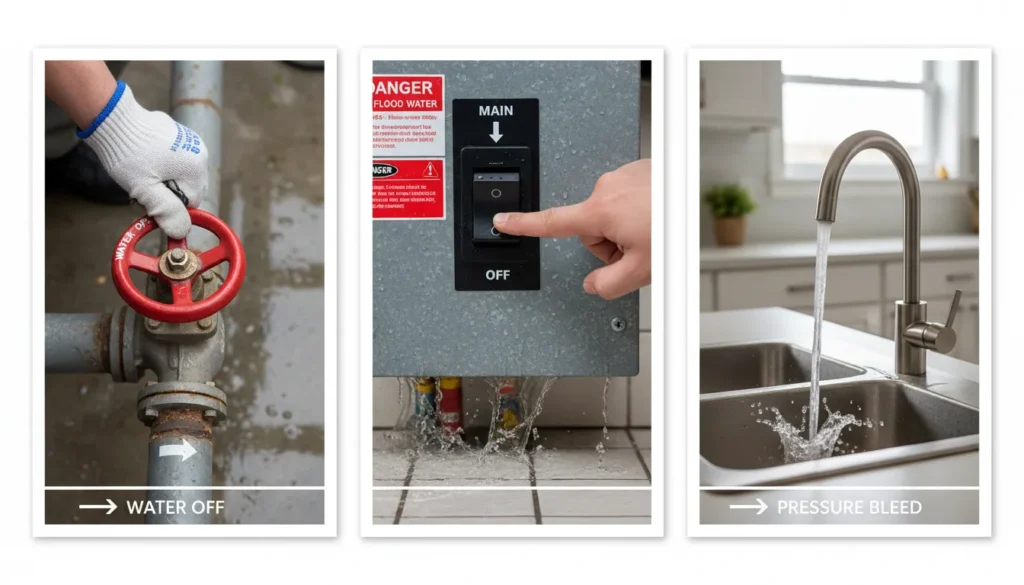
Main Shut-off: Turn off the Main Water Valve. This is the only 100% guarantee against a flood while you are away.
Drain the Lines: After shutting the main valve, open the highest and lowest faucets in the house to drain the remaining water in the pipes.
The Sump Pump Check: If you have a basement, pour a bucket of water into the Sump Pump pit to ensure it triggers before you leave. If it fails while you’re on vacation, you could return to a swimming pool in your basement.
Conclusion: Your Preventative Plumbing Roadmap
Plumbing maintenance isn’t about working hard; it’s about working smart. By spending just a few minutes each month on the tasks below, you can effectively “bulletproof” your home against 90% of common plumbing emergencies.
The Ultimate Plumbing Maintenance Checklist
| Frequency | Task | Benefit |
| Weekly | Flush unused drains with hot water. | Prevents “Dry P-Trap” sewer smells. |
| Monthly | Inspect under-sink pipes & check PSI. | Catches pinhole leaks & high-pressure stress. |
| Bi-Annually | Test your Sump Pump & check outdoor spigots. | Prevents basement floods & winter bursts. |
| Annually | Flush Water Heater & inspect the Anode Rod. | Doubles the lifespan of your expensive tank. |
| Every 3-5 Years | Replace washing machine hoses (Stainless Steel). | Prevents the #1 cause of indoor flooding. |
When to Call a Pro
While these plumbing maintenance tips allow you to handle the majority of upkeep, knowing your limits is key to safety. If you encounter a sewer backup, a gas line issue, or a leak behind a structural wall, always consult a licensed professional.
Proactive care is the difference between a $50 DIY weekend and a $5,000 emergency repair.
FAQ Section: People Also Ask
Q1: What is the most important plumbing maintenance task? Answer:
The most critical task is monitoring your home’s water pressure. Consistently high pressure (above 80 PSI) acts as a “silent killer,” causing pinhole leaks, failing seals, and catastrophic pipe bursts. Installing a Pressure Reducing Valve (PRV) and keeping pressure between 40-60 PSI can double the lifespan of your entire plumbing system.
Q2: How often should you have a professional plumbing inspection? Answer:
While homeowners should perform monthly visual checks, a professional plumbing inspection is recommended once every one to two years. A licensed plumber uses specialized tools, like thermal imaging and sewer cameras, to detect underground leaks, root intrusions, and internal pipe corrosion that are invisible to the naked eye.
Q3: Is it worth flushing a water heater every year? Answer:
Yes. Flushing your water heater annually is essential to remove sediment buildup (calcium and magnesium). If left inside, this sediment creates an insulating layer that causes the burner to run longer, skyrocketing your energy bills and eventually causing the tank’s glass lining to crack due to overheating.