How to Remove SharkBite Fittings: The Professional Troubleshooting Guide
To remove SharkBite fittings, simply depress the plastic release collar flush against the fitting body and pull the pipe away. This action disengages the stainless steel grab ring teeth, allowing the pipe to slide past the O-ring without damage.
If you’re staring at a stuck connector and your fingers are already sore, don’t panic. Most DIYers fail because they skip one critical mechanical step: the “Push-Before-Pull” maneuver. As a pro who has pulled hundreds of these in tight crawlspaces, I can tell you that brute force is your enemy.
Whether you are working with PEX, copper, or CPVC, the internal mechanics remain the same. However, the secret to a clean disconnect lies in how you handle the release mechanism—especially if you don’t have the official disconnect clip in your toolbox.
The 30-Second Answer: How to Remove SharkBite Fittings Fast
If you are in a hurry, follow this pro-approved sequence to remove SharkBite fittings in seconds:
Shut off the water and drain the lines to relieve hydrostatic pressure.
Push the pipe into the fitting slightly (this unloads the grab ring teeth).
Press the release collar (the tan or gray ring) firmly against the fitting body.
While holding the collar down, pull the pipe out with a smooth, steady motion.
Pro Tip: Never try to pull the pipe before the collar is fully depressed. Doing so causes the stainless steel teeth to bite deeper into the pipe, potentially creating deep scratches that lead to permanent leaks upon re-installation.
Understanding the “Mechanical Lock” (Why Your Fitting is Stuck)
Most homeowners struggle to remove SharkBite fittings because they are fighting physics. These connectors are “push-to-connect,” meaning they are designed to get tighter as more tension is applied.
Anatomy of a SharkBite: Grab Ring, O-Ring, and Release Collar
Inside that brass body are three silent heroes working together:
The Stainless Steel Grab Ring: This features sharp teeth angled inward. They allow the pipe to enter but “bite” into the surface if you try to pull it out.
The O-Ring Protector: A plastic buffer that aligns the pipe.
The EPDM O-Ring: This creates the watertight seal by compressing against the pipe’s outer diameter.
Why Pulling Harder Makes it Tighter (The Physics of the Bite)
If you pull the pipe without depressing the release collar, the grab ring teeth slide up a ramp inside the fitting, digging deeper into your PEX or copper.
This creates a mechanical lock. To break it, you must compress the collar, which acts as a wedge to splay the teeth open and away from the pipe wall.
Essential Tools for SharkBite Fitting Removal
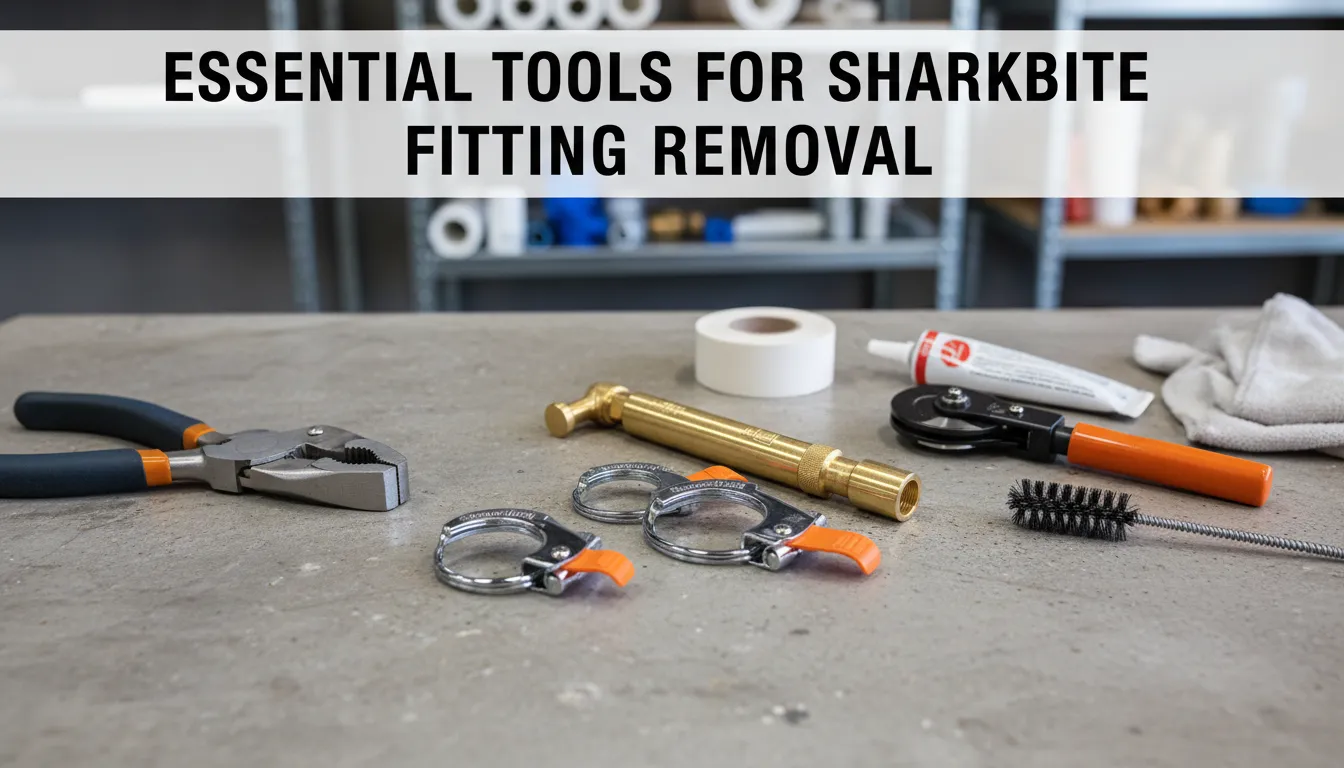
Having the right tool makes the difference between a 10-second job and a 10-minute struggle. While you can remove SharkBite fittings with several methods, using the dedicated hardware ensures you don’t damage the release collar.
Branded Tools: Disconnect Clips vs. Disconnect Tongs
The Disconnect Clip: The standard orange plastic clip. It’s cheap and fits in your pocket, but it can be hard on the fingers if the fitting is tight.
Disconnect Tongs: These are the “heavy hitters.” They use a scissor-like action to apply even pressure on both sides of the collar. I always recommend these for 1″ fittings or stubborn connections.
The SharkBite Max Difference: Removing the New Steel Collar Fittings
If you are working with the newer SharkBite Max line, you’ll notice a major upgrade: the stainless-steel retainer (the collar) is much stronger.
Unlike the 1st Generation tan plastic collars, the Max collar requires a more precise, firm compression. The Pro Disconnect Tool is best here because it’s designed to handle the higher tension of the steel teeth without slipping.
Step-by-Step: How to Remove SharkBite Fittings Like a Pro
Through years of service calls, I’ve developed a foolproof method to remove SharkBite fittings that works even when the connector feels welded to the pipe. Follow these steps to ensure a clean release every time.
Step 1: The Pressure Relief Rule (Safety First)
Before touching the fitting, you must shut off the main water valve and open the lowest faucet in the house. If there is residual hydrostatic pressure in the line, the internal grab ring will be physically locked against the pipe, making removal impossible and potentially soaking you in the process.
Step 2: The “Push-Before-Pull” Secret
This is the game-changer. Before you try to pull the pipe out, push it 1/8th of an inch further into the fitting. This tiny movement “unseats” the stainless steel teeth from the grooves they’ve bitten into the pipe. Without this step, you’re fighting the mechanical grip of the metal.
Step 3: Compressing the Release Collar
Snap your disconnect clip onto the pipe with the non-branded side facing the fitting. Slide it up and press the release collar firmly. You want the collar to disappear into the brass body as much as possible. This action splays the teeth open so they no longer touch the pipe.
Step 4: Inspecting the Pipe for Damage
Once the pipe slides out, wipe the end with a clean rag. Inspect for deep vertical scratches or “gouges.” If the O-ring was forced over a burr during the initial install, it might have left a mark. If the pipe is heavily scored, you must cut back to a fresh section before re-installing to prevent a slow leak.
No Tool? 5 Pro Hacks for Removal in Tight Spaces
It’s a classic scenario: you’re in a dark crawlspace, the pipe is leaking, and you don’t have the orange disconnect clip. Don’t panic. You can still remove SharkBite fittings using common items in your toolbox.
The 5/8″ Wrench Method (The Best No-Tool Hack)
For a standard 1/2″ PEX or copper pipe, a 5/8″ open-end wrench is the perfect fit.
Slide the wrench over the pipe so it rests against the release collar.
Use the wrench as a lever to push the collar into the fitting body.
Because the wrench is rigid metal, it provides much more uniform pressure than the plastic DIY clips.
Using Needle-Nose Pliers for Maximum Leverage
If the collar is stuck due to debris, open a pair of needle-nose pliers and place the tips on opposite sides of the collar. Squeeze the pliers against the fitting while pulling the pipe. This gives you the “bite” needed to move a stubborn sleeve.
The Zip-Tie / Paracord Trick for Tight Spaces
When a fitting is buried against a wall or stud, you can’t fit a wrench or tongs behind it.
Wrap a thick zip-tie or a loop of paracord around the pipe right at the collar.
Pull the ends of the tie or cord toward the fitting to compress the collar.
This “wraparound” pressure is often enough to release the teeth in zero-clearance areas.
Troubleshooting: What to do when the Release Collar Won’t Budge
Sometimes, you follow every step perfectly, but the fitting still refuses to move. This usually isn’t a mechanical failure of the SharkBite itself, but rather environmental factors that have “seized” the internal components. Here is how to remove SharkBite fittings when they seem permanently stuck.
Dissolving Mineral Buildup and Hard Water Scale
In areas with hard water, calcium and magnesium can calcify inside the release collar gap. This debris acts like cement, preventing the collar from sliding inward to splay the teeth.
The Fix: Soak a rag in warm white vinegar or a commercial descaler and wrap it around the fitting for 10–15 minutes. This softens the minerals, allowing the collar to move freely again.
Dealing with Scored Copper or Deformed PEX
If the pipe was rotated while under pressure, it might have developed deep circular grooves. These “scores” give the grab ring teeth a deep ledge to sit in.
The Fix: Use the 5/8″ wrench method mentioned earlier to apply maximum, even pressure. If the pipe is PEX and it has “egged” (become oval-shaped), you may need to use disconnect tongs to force the collar deep enough to clear the deformed section.
When to Stop: Identifying a “Dead” Fitting
If you see the release collar crack or if the internal O-ring starts protruding from the front of the fitting, the connector is compromised. At this point, stop trying to save it. Use a PEX cutter or a close-quarters copper cutter to remove the fitting entirely. Your home’s safety is worth more than a $15 connector.
Can You Reuse SharkBite Fittings? (The Professional Verdict)
The short answer is yes, but with a massive caveat. While SharkBite officially states its fittings can be reused for testing purposes, reusing them in a permanent, “behind-the-wall” application requires a strict inspection. If you remove SharkBite fittings and plan to put them back into service, follow this checklist.
Inspection Checklist: O-Ring Integrity and Teeth Sharpness
The O-Ring: Peer inside the fitting with a flashlight. Look for nicks, tears, or flattened spots on the EPDM O-ring. If even a tiny sliver of rubber is missing, the fitting will eventually leak.
The Grab Ring: Ensure the stainless steel teeth are still angled inward and haven’t been bent flat during a difficult removal.
Debris Check: Look for shards of PEX or copper “shavings” stuck inside. These can bypass the protector and slice the O-ring during re-insertion.
Lubrication Tips for Reinstallation
If the fitting is clean, you can make the next installation smoother by using a tiny amount of silicone-based, plumber-grade grease on the pipe end.
Critical Warning: Never use petroleum-based products (like Vaseline) on SharkBite fittings. Petroleum will cause the EPDM O-ring to swell and degrade, leading to a catastrophic joint failure within months.
People Also Asked (Deep FAQ)
To ensure your plumbing project is successful, here are the answers to the most common questions homeowners ask when they try to remove SharkBite fittings.
Can you remove a SharkBite with pliers?
Yes, but you shouldn’t use them directly on the brass body. Use needle-nose pliers only to press the release collar inward. Avoid using heavy channel locks on the fitting itself, as denting the brass “barrel” can permanently jam the internal grab ring, making the fitting impossible to remove or reuse.
Does removing a SharkBite damage the pipe?
If removed correctly using the “Push-Before-Pull” method, the damage is minimal—usually just tiny, superficial scratches. However, if you pull the pipe forcefully without fully depressing the collar, the stainless steel teeth will “plow” deep grooves into the PEX or copper. If these grooves are deeper than a fingernail’s thickness, you must cut the pipe back to a fresh section.
Why is my SharkBite release collar stuck?
The most common reasons are hydrostatic pressure still in the line or mineral buildup (calcium/scale) wedged between the collar and the fitting body. Ensure the water is off and the lines are drained. If it’s still stuck, a quick soak in vinegar usually dissolves the minerals holding the collar in place.
How many times can you reuse a SharkBite fitting?
There is no hard limit, but SharkBite recommends these for “temporary” or “testing” reuse. In the field, I’ve seen fittings reused successfully 5–10 times, provided the O-ring is lubricated, and the grab ring isn’t bent. For permanent installations behind a wall, I always recommend using a brand-new fitting for peace of mind.
Final Verdict: Why Trust EZ Plumbing Repair Services for Your Home?
Knowing how to remove SharkBite fittings is a vital skill for any DIYer, but remember that the secret lies in patience and the right technique—not brute force. By following the “Push-Before-Pull” rule and ensuring your pipes are clean and deburred, you can handle most minor repairs and emergency disconnects with total confidence.
However, plumbing systems can be unpredictable. If you are dealing with a seized fitting in a hard-to-reach area, or if you’re worried that a DIY mistake might lead to an expensive flood, EZ Plumbing Repair Services is here to help. Our team of licensed professionals brings years of hands-on experience and specialized tools to every job, ensuring your home’s plumbing is not just “fixed,” but safe and up to code. We don’t just swap parts; we provide long-term peace of mind.
Don’t Risk a Costly Leak—Get Professional Help Today!
Why spend your weekend struggling with a stuck pipe or worrying about a potential drip behind your walls? Let the experts at EZ Plumbing Repair Services handle the heavy lifting. Whether it’s a stubborn connector or a full-home repipe, we deliver fast, reliable, and affordable results.
Call Us Now at +1 786 239 6529 or Click Here to Book Your Expert Inspection to ensure your plumbing stays leak-free!